4. Technical Tips for Underwater Cave Photography
4.1. Pre-adjust your camera’s focus for cave photography
First and foremost, cameras need light to focus. Focus in cave photography is vital and must be handled correctly because it cannot be corrected in post-processing. Wide-angle photography, which typically doesn’t pose a focusing issue, is a challenge inside a cave because the shutter aperture is wider to compensate for the lack of light, and a high ISO is used. Therefore, it’s advisable to unlink the focus from the trigger, focus with the light on, and lock it before shooting.
4.2. Lighting Techniques for Underwater Cave Photography
First of all, remember to adjust your camera’s white balance according to the light source you’re using, whether it’s natural or artificial light. This will help you achieve accurate colors in your photographs.
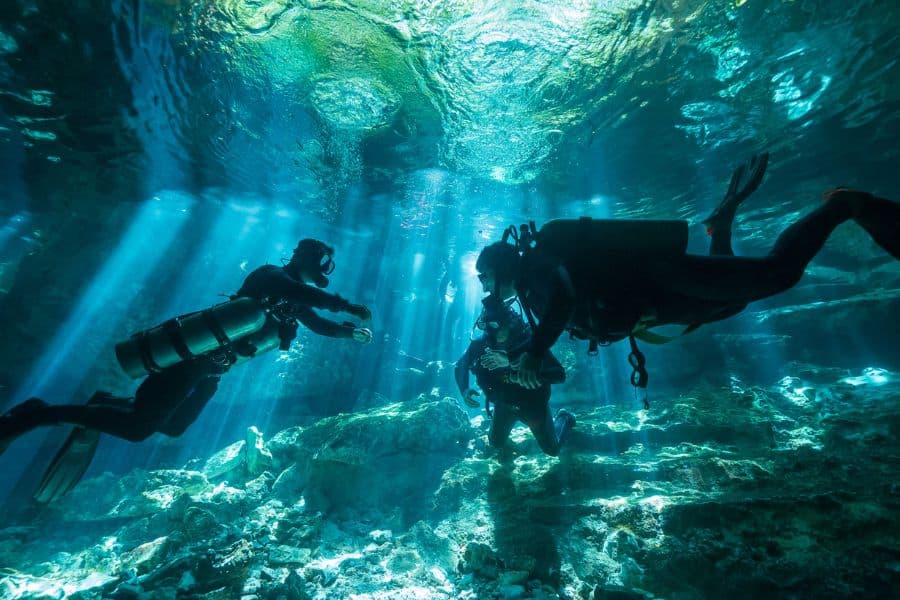
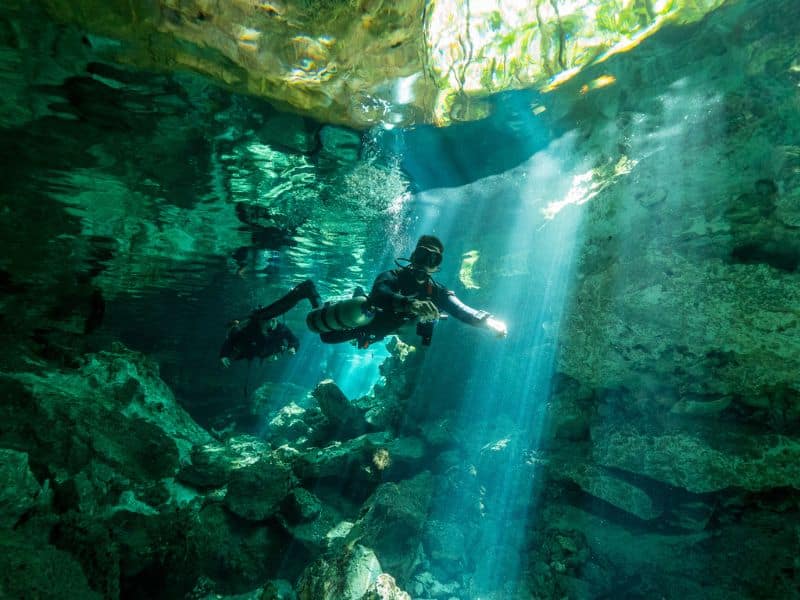
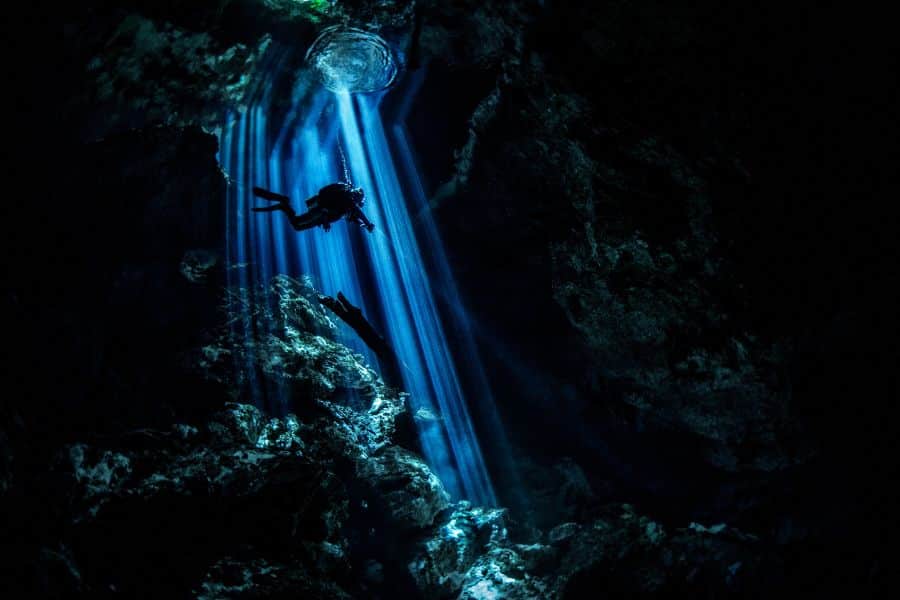
Sometimes, as in cenotes, caves have openings that allow sunlight to enter. Take advantage of them. Plan your session for midday when the rays are highest. Let the water calm down before shooting, so those rays will be more focused.
The surface will be brighter than the rays, if you want them to be seen, the ray should be surrounded by darkness and minimize the portion of the surface appearing in the photo. That way, the ray will be the brightest part of the composition. One way to do this is to take a photo near the cave’s ceiling.
Another interesting tip is: to shoot the photo from darkness. What needs to be illuminated is the scene, not the photographer. Get out of the light.
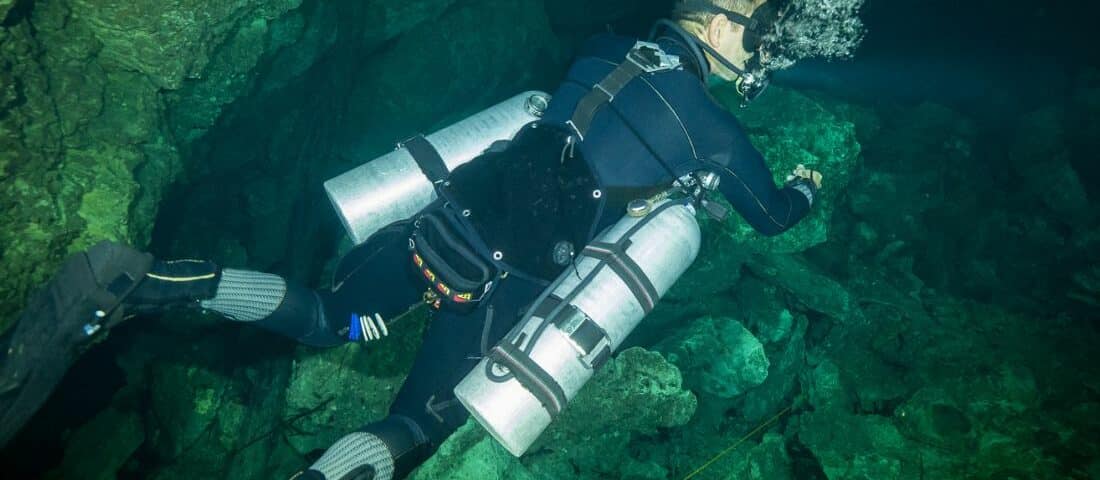
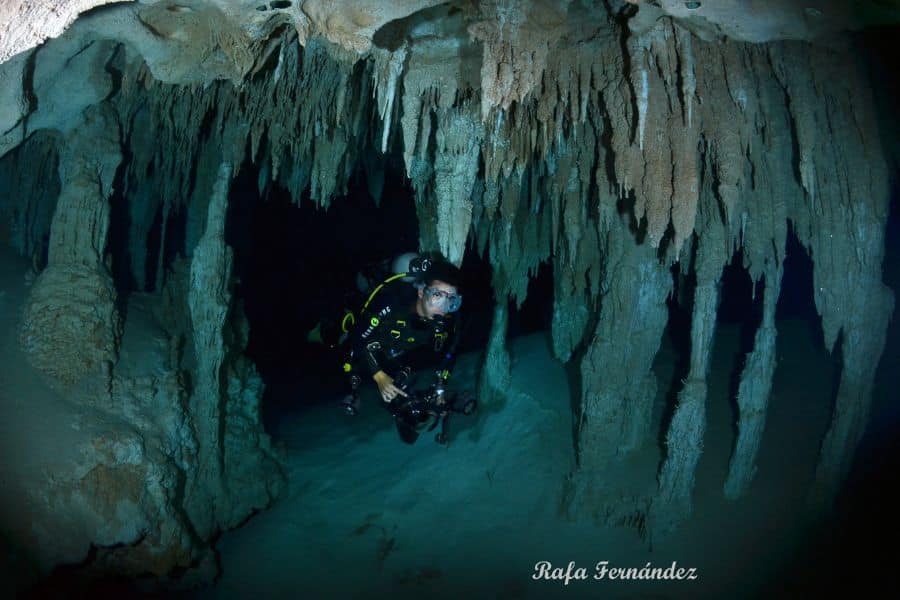
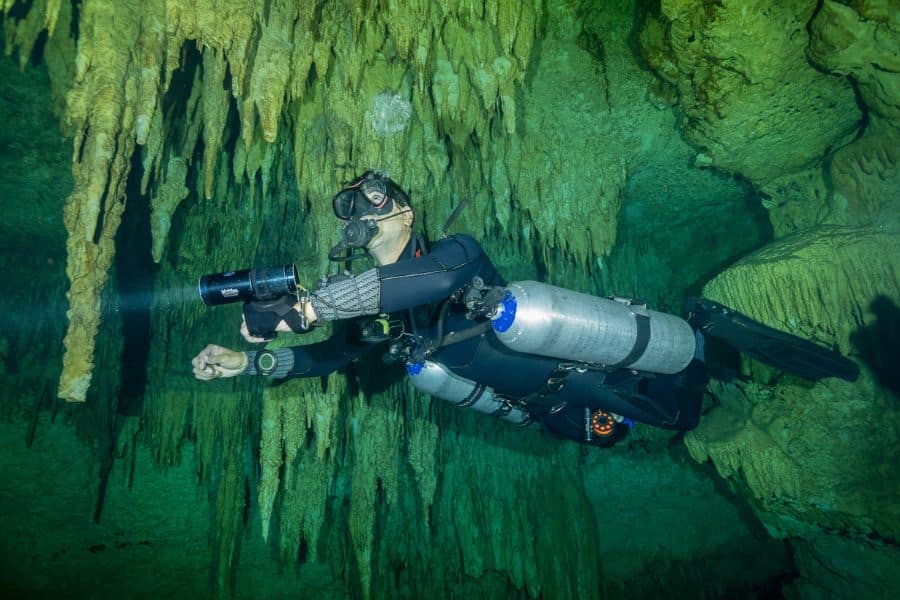
In other instances, the only underground lights are the ones you bring with you, therefore mastering lighting will allow you to freeze movement and reveal the hidden details of the caves. Precisely illuminating the scene, creating a play of light and shadow, will make your underwater cave photos shine.
Forget about using the flash as you have done before. Direct light produces overexposed, flat, and uninteresting images. Additionally, all divers know that water filters light, so strobe lights won’t reach very far. We also don’t want our models floating on black backgrounds. We want the cave to be visible. Therefore, we need to illuminate the environment to create context. The solution: light.
If you use strobe lights, you can combine one from the camera and another carried by your model pointing backward to illuminate the background.
Another option is to choose video lights. LED lights are recommended due to their color temperature similar to Flash and lower scene lighting pollution.
Lighting from various independent sources adds the third dimension and facilitates viewing of both the foreground and background of underwater cave photography.
To ensure the diver is not just a silhouette in shadow, we must illuminate them, but it must be done correctly or their body will cast shadows on the cave wall. Front lighting creates reflections in the dive mask, and although sometimes it’s a problem, other times it creates a very cool effect. Illuminating the diver from below usually yields good results. To create a halo effect, they are illuminated from behind with an extra light handled by an assistant.
The “light painting” technique is very appropriate in these cases and involves selectively illuminating different areas of the cave while the camera captures a long exposure.
Regardless, it’s interesting to avoid direct light to prevent the image from being overexposed and losing depth.
The main problem with darkness is exposure, and for that, the camera will need to be configured. There are no magic numbers: light levels are changing, and the best combination of aperture, shutter speed, and ISO depends on your type of camera.


